

Butterkase is a mild flavored cheese with a smooth texture and a soft melt-in-your-mouth finish. Unlike hard cheeses that require age for months, handmade Butterkase cheese may be prepared using simple cheesemaking ingredients, accurate temperature control, and a short aging time.
- Ingredients Needed to Make Butterkase Cheese
- Equipment Needed for Homemade Butterkase Cheese
- Step-by-Step Guide on How to Make Butterkase Cheese
- Tips for Perfect Butterkase Cheese
- Common Mistakes When Making Butterkase Cheese
- How to Store Homemade Butterkase Cheese
- Best Ways to Enjoy Homemade Butterkase Cheese
- Final Thoughts
This easy-to-follow tutorial takes you through the entire cheesemaking process from warming the milk and cutting the curds to pressing, brining, maturing, and storing your creamy homemade cheese.
I think Butterkase is one of the greatest cheeses for the starting home cheesemakers because the method is milder and forgiving than many aged hard cheeses.
READ MORE: Blue Cheese Recipe: Easy Homemade Version in Minutes
Ingredients Needed to Make Butterkase Cheese
To make a good homemade Butterkase cheese, ingredient quality matters. Since this is a mild, buttery cheese, every ingredient affects the final flavor and texture.
You will need:
- 1 gallon whole cow’s milk: Use fresh, non-ultra-pasteurized whole milk. Higher fat milk helps create the creamy cheese texture Butterkase is known for.
- Mesophilic culture: This helps develop mild acidity, buttery flavor, and proper cheese fermentation.
- Liquid rennet: Rennet coagulates the milk and forms curds.
- Calcium chloride: Helpful, if using pasteurized milk because it improves curd firmness.
- Salt: Used for flavor, moisture control, and preservation.
- Cheese brine or dry salt: Either method can be used depending on your preferred salting technique.
Avoid ultra-pasteurized milk because it often produces weak curds that do not set properly.
Equipment Needed for Homemade Butterkase Cheese
Before starting this Butterkase recipe, prepare your tools. Good clean equipment is an essential part of safe and effective artisan cheesemaking.
What you’ll need:
- Large stainless steel saucepan
- Cheese thermometer
- Long knife for curd cutting
- cheesecloth or butter muslin
- Cheese molds
- Cheese press or clean weights
- Draining mat
- Slotted spoon
- Large bowl for the whey
- Aging container or cheese box
Butterkase requires delicate heating and careful curd manipulation, thus a good cheese thermometer is extremely vital.
Step-by-Step Guide on How to Make Butterkase Cheese
This is the heart of the process. Follow each step slowly and carefully for the best buttery flavor and soft cheese texture.
Step 1: Heating the Milk
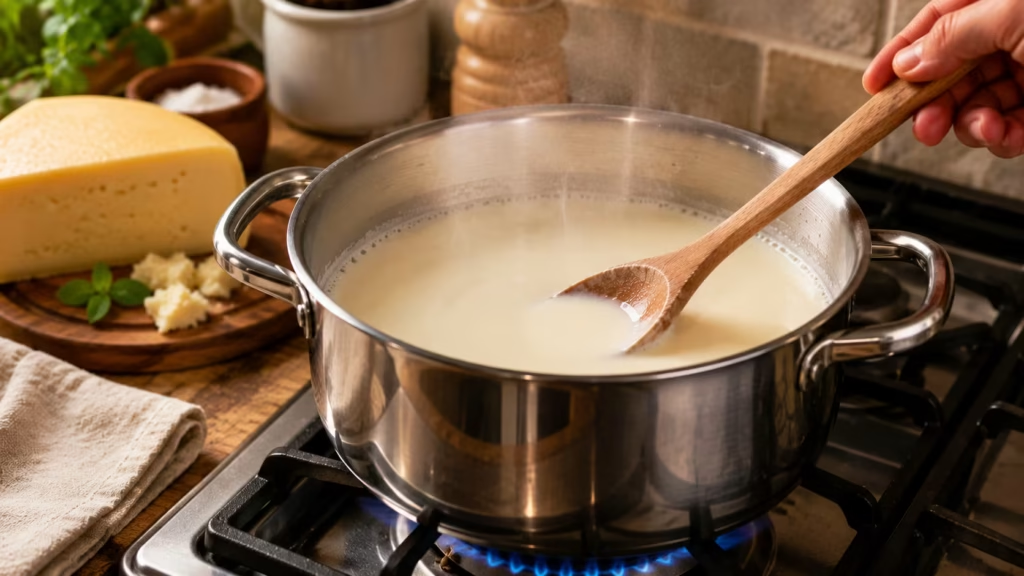
Pour 1 gallon whole milk into a stainless steel pot. Warm the milk slowly over low heat to around 86°F to 90°F, stirring constantly to prevent burning.
The milk should be warm to the touch, not hot. If the heating is too rapid the structure of the curd may be damaged and the texture will be uneven.
Beginner tip: Stir from the bottom of the saucepan so the milk heats evenly.
Avoid: Boiling the milk or heating above the recommended temperature.
Step 2: Adding Culture
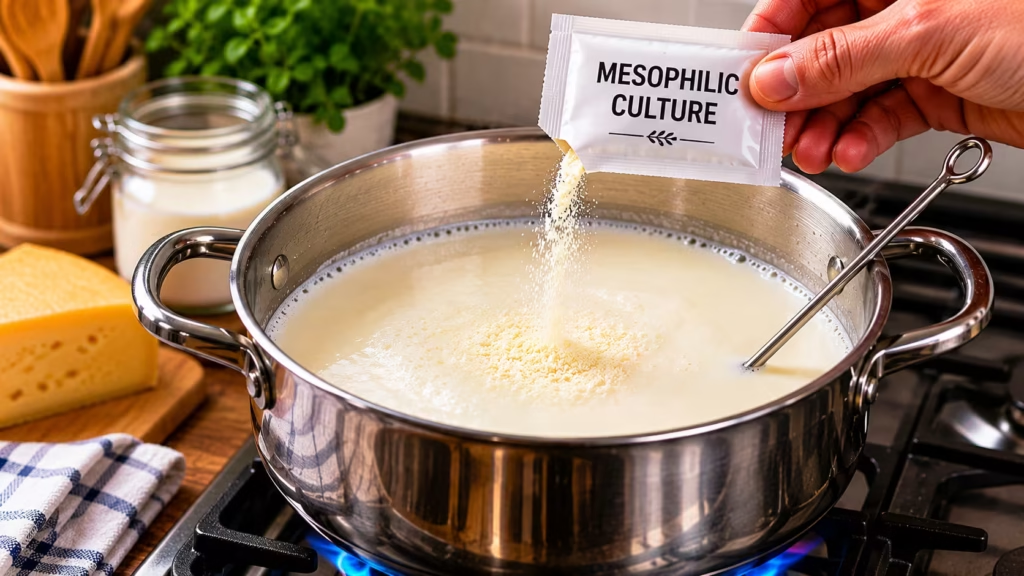
Sprinkle the mesophilic culture over the surface of the warm milk. Let it sit for 2 minutes so it can hydrate, then stir gently using an up-and-down motion.
Cover the pot and let the milk ripen for about 45 minutes at 86°F to 90°F.
During this stage, the culture begins the cheese fermentation process. This helps create the mild buttery cheese flavor that makes Butterkase special.
Texture indicator: The milk will still look liquid, but its acidity is slowly developing.
Step 3: Adding Rennet
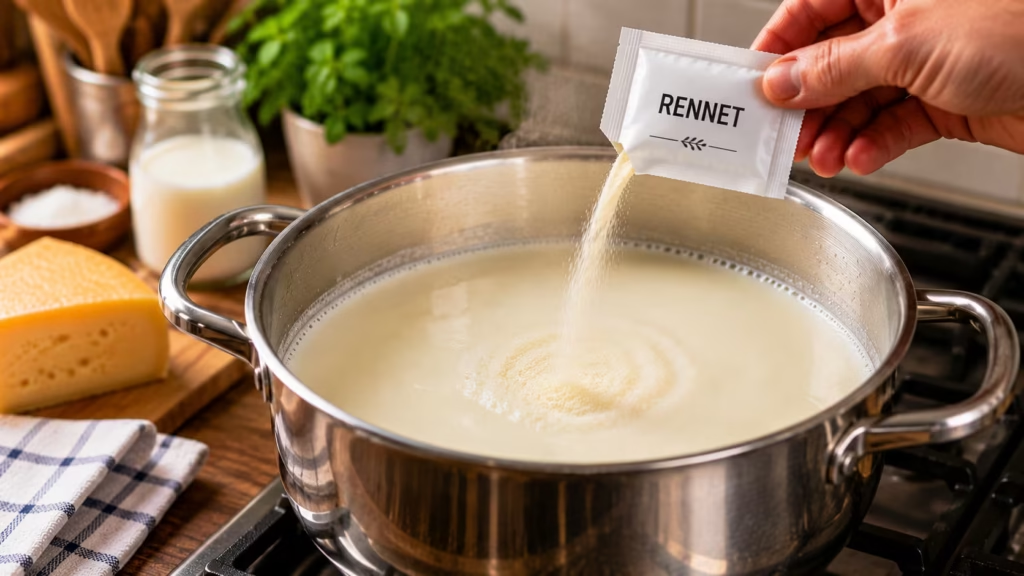
Dilute liquid rennet in cool, non-chlorinated water. Add it to the cultured milk and stir gently for about 30 seconds.
Cover the pot and let the milk sit undisturbed for 30 to 40 minutes, or until a clean break forms.
A clean break means the curd separates cleanly when cut with a knife.
Avoid: Stirring after rennet is added. Movement can disturb curd formation.
Step 4: Cutting the Curds
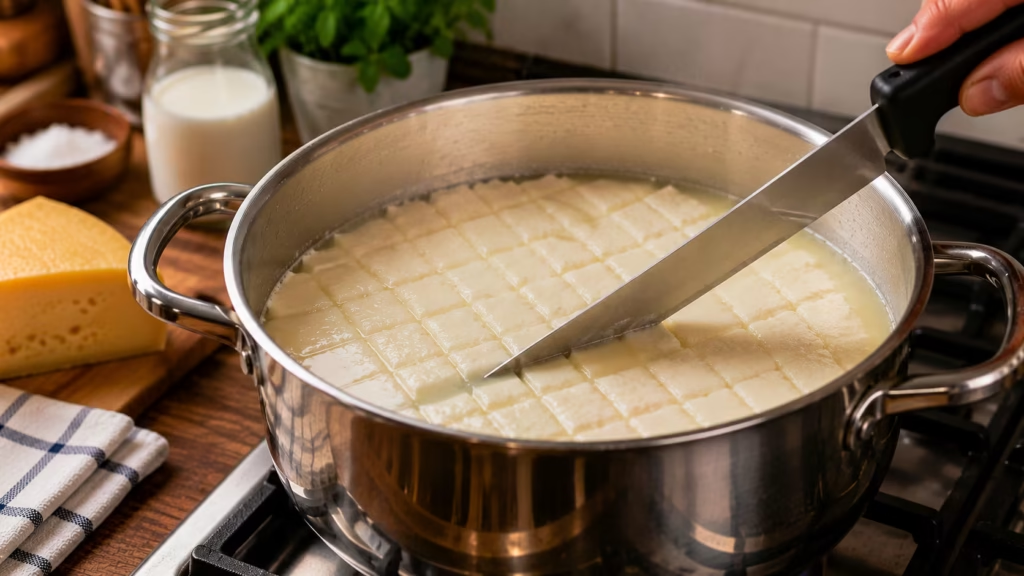
Once the curd has set, use a long knife to cut it into small cubes, about ½ inch wide.
First cut vertically, then horizontally. After cutting, let the curds rest for 5 minutes.
At this stage you will observe the new cheese curds detaching from the whey. The curds should be soft and shiny, and look fragile.
Starter tip: Cut carefully and steadily. Uneven curds will release whey unevenly and may compromise the moisture balance.
Step 5: Cooking the Curds
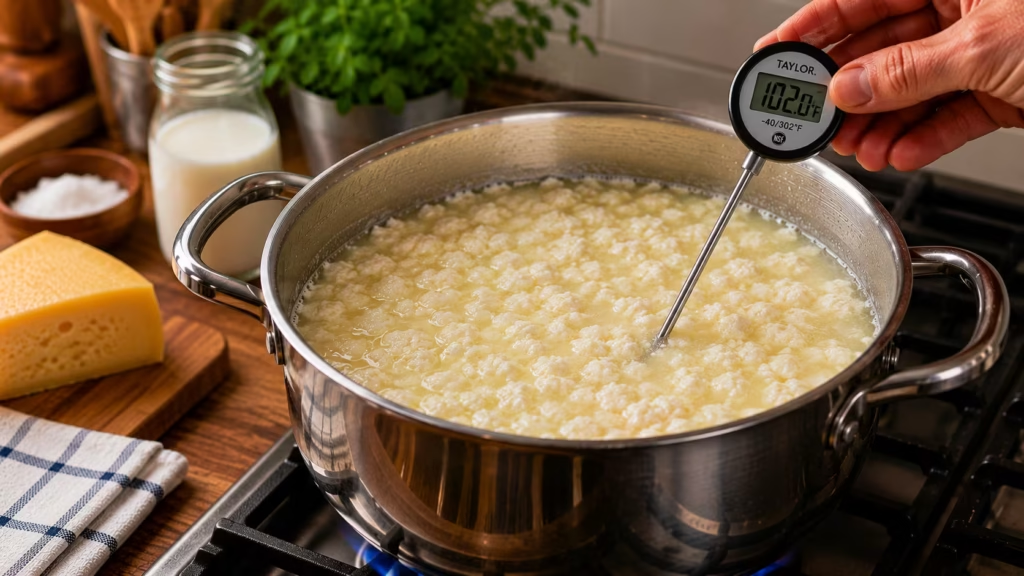
Slowly warm the curds to around 102°F, increasing the temperature gradually over 20 to 30 minutes.
As this happens, stir lightly. The idea is to take off some whey, but leave enough moisture for a nice, creamy semi-soft cheese.
The curds should be a little bit set, but still soft and springy.
Avoid: One thing I’ve learned making handmade Butterkase cheese is that taking your time to heat slowly makes a big difference in texture. If you rush this process, you will soon have a stiffer, drier cheese instead of a creamy one.
Step 6: Draining the Whey
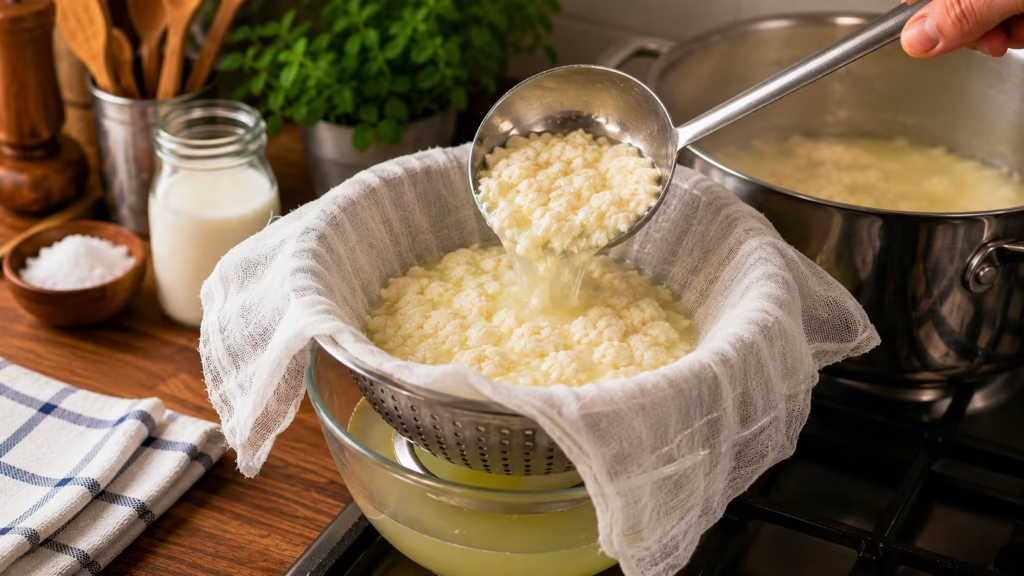
Line a colander with cheesecloth and carefully ladle the curds into it. Allow the whey to drain naturally for about 10 to 15 minutes.
Squeeze the curds too tight. Butterkase cheese should keep moist for its creamy texture.
Drain the curds into a cheese mold lined with cheesecloth.
Texture indicator: Curds should be juicy, delicate and just a little sticky.
Step 7: Pressing the Cheese
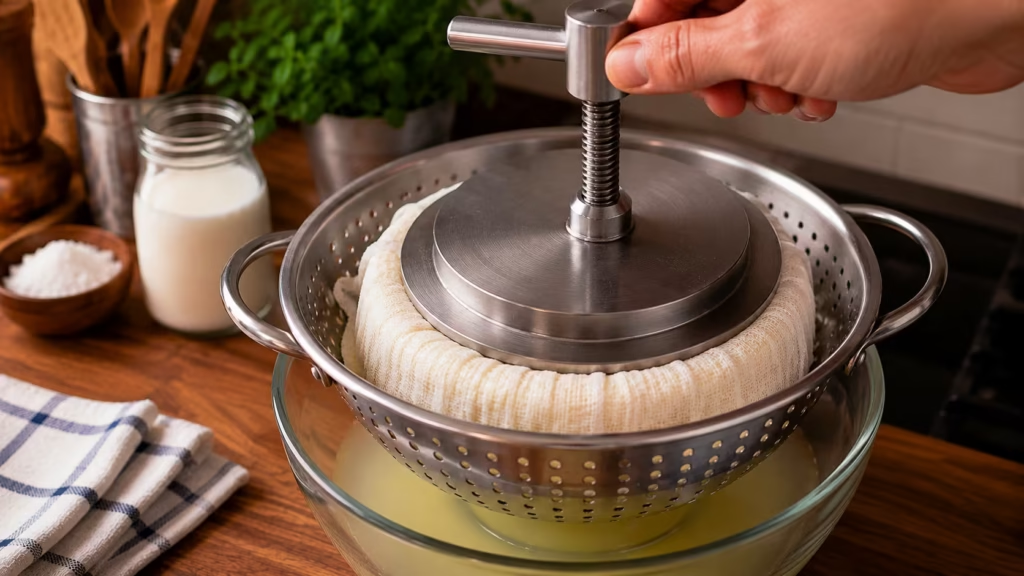
Press the cheese lightly at first. Start with about 5 pounds of pressure for 30 minutes.
Remove the cheese, unwrap it, flip it, rewrap it, and press again with slightly more weight for another 4 to 6 hours.
Butterkase is semi-soft and doesn’t need the hard pressing that cheddar requires. Use gentle pressure to assist form the cheese without squashing the soft texture.
My personal advice is to use less pressure while pushing, especially for novices. Butterkase develops its characteristic soft texture considerably better if the curds are not too strongly pressed.
Step 8: Salting or Brining
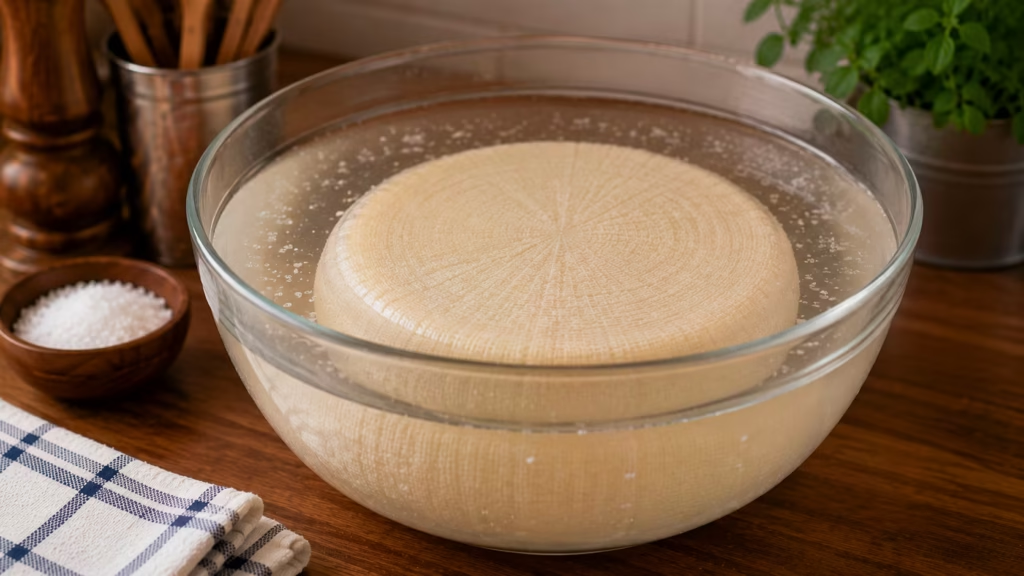
You can salt Butterkase cheese using dry salt or a light brine.
For brining, place the cheese in a prepared salt brine for about 4 to 6 hours, turning it halfway through.
Salt improves flavor, controls moisture, and helps prepare the cheese for aging.
Beginner tip: Do not over-brine. Too much salt can overpower the mild buttery flavor.
Step 9: Aging the Cheese
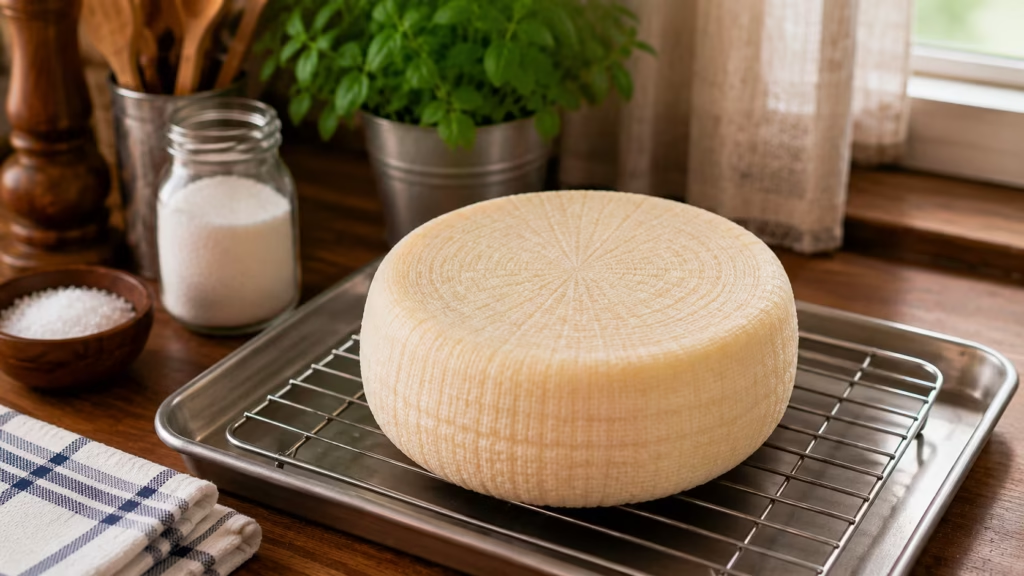
After salting, let the cheese to air dry at room temperature for several hours, until the surface is dry to the touch.
Age the cheese at around 50°F to 55°F with moderate humidity for 3 to 4 weeks.
Turn the cheese daily during the first week, then every few days after that. This helps even moisture distribution and supports proper cheese ripening.
As it ages, the cheese develops a smooth, creamy texture and mild buttery flavor.
Tips for Perfect Butterkase Cheese
Use whole cow milk, if possible, and not ultra-pasteurized. Good Butterkase cheese is made from good milk.
Keep constant temperatures. “Quick changes in temperature can be bad for curds and texture.
Curds are fragile. Butterkase should be moist, soft and creamy.
Press softly. This semi-soft cheese can be made too hard if pressed too hard.
Aging gracefully. The appropriate aging of cheese for even a few weeks can improve flavor, texture and meltability.
In my opinion, one of the biggest keys to getting that smooth buttery flavor and creamy texture is keeping the temps consistent throughout the cheesemaking process.
Common Mistakes When Making Butterkase Cheese
- Use whole cow milk, if possible, and not ultra-pasteurized. Good Butterkase cheese is made from good milk.
- Keep constant temperatures. Quick changes in temperature can be bad for curds and texture.
- Curds are fragile. Butterkase should be moist, soft and creamy.
- Press softly. This semi-soft cheese can be made too hard if pressed too hard.
- Aging gracefully. The appropriate aging of cheese for even a few weeks can improve flavor, texture and meltability.
I also discovered that many people trying to make cheese for the first time, overheat the curds when they think the cheese is too soft. In the case of Butterkase, the softness is really part of the appeal of the finished cheese.
How to Store Homemade Butterkase Cheese
When your cheese is matured, wrap it in cheese paper, parchment or breathable cheese wrap. Keep refrigerated.
Don’t firmly seal in plastic for long periods of time, since moisture trapped inside can impact flavor and texture.
Homemade Butterkase cheese usually keeps well for 2 to 3 weeks in the refrigerator after aging.
If the cheese begins to dry out, wrap it well and store it somewhere a little more humid in the fridge.
Best Ways to Enjoy Homemade Butterkase Cheese
Homemade Butterkase cheese is great in sandwiches, burgers, grilled cheese and cheese boards. It melts well so it’s perfect for heated dishes.
Its light buttery cheese flavor is also a good match with bread, crackers, fruit and simple home-cooked dishes.
Final Thoughts
Learning how to make Butterkase cheese at home is a wonderful introduction to beginner cheesemaking. If you have decent milk, mesophilic culture, rennet, you treat the curds gently, press them lightly and age them carefully, you can make a creamy homemade cheese with a delicate texture and a mild, buttery flavor.
It requires time, but every step teaches you something about traditional cheesemaking.” The buttery scent and soft texture make slicing into your first homemade Butterkase entirely worth the effort.
If you are new to home cheesemaking, Butterkase is a highly satisfying cheese to make because it teaches you important cheesemaking principles without feeling too complicated.

