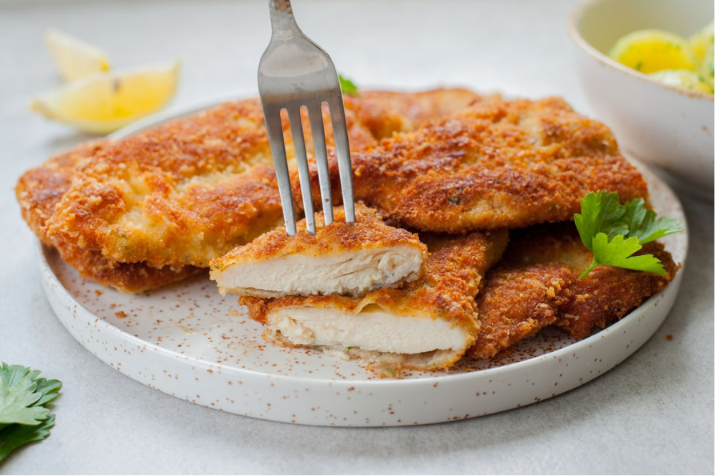
Crispy Breaded Chicken Cutlets is one of those recipes I keep coming back to. I was amazed at how simple ingredients could come together to be this great meal. As soon as I bit through that crisp, fabulous outer shell to reveal juicy, tender chicken underneath. My favorite part is that they give you restaurant-quality flavor but are easy enough to make in your own kitchen where they’re an in-house trusty staple.
- How to Prepare the Chicken
- Crispy Breaded Chicken Cutlets
- The Secret to Perfect Crispy Breading
- A Few of My Favorite Tips for Extra Crispy:
- Delicious Serving Ideas:
- Best Side Dishes That Pair Perfectly with Chicken Cutlets
- What Is The Best Oil To Fry Chicken Breasts?
- Best Ways To Store, Freeze, and Reheat Without Losing The Crisp
- Easy Variations to Try:
- Storage and Reheating Tips
- Common Mistakes to Avoid
- Ready to Enjoy the Perfect Chicken Cutlets?
My introduction to crispy breaded chicken cutlets was the drive to make something home-cooked as opposed to using frozen breaded chicken ready-made. I experimented with various combos of breadcrumbs and cooking styles, but a couple tricks do the real heavy lifting. That recipe is now one of the most frequently requested meals in my house due to it being simple, foolproof and delicious every single time.
How to Prepare the Chicken
To ensure even cooking, you slice the chicken breasts to thin them out. If using chicken, pound it out gently to an even thickness with a meat mallet or rolling pin if desired. They are faster to prepare and dry out less quickly simply because they are thin cutlets.
Use a generous amount of salt, pepper, garlic powder, onion powder and paprika to season both sides. Seasoning the chicken, even before breading, adds flavor in every bite of chicken and not just on the surface.
Crispy Breaded Chicken Cutlets
Course: Italian Recipes4
servings30
minutes40
minutes300
kcalIngredients
2 large boneless, skinless chicken breasts
2 eggs
1 cup all-purpose flour
1½ cups breadcrumbs (Panko gives extra crunch)
½ cup grated Parmesan cheese (optional)
1 teaspoon garlic powder
1 teaspoon onion powder
1 teaspoon paprika
Salt and black pepper to taste
Vegetable or canola oil for frying
Fresh parsley and lemon wedges for serving
- These ingredients create a flavorful coating that stays crisp while allowing the chicken to remain juicy inside.
Directions
- Prepare Chicken:
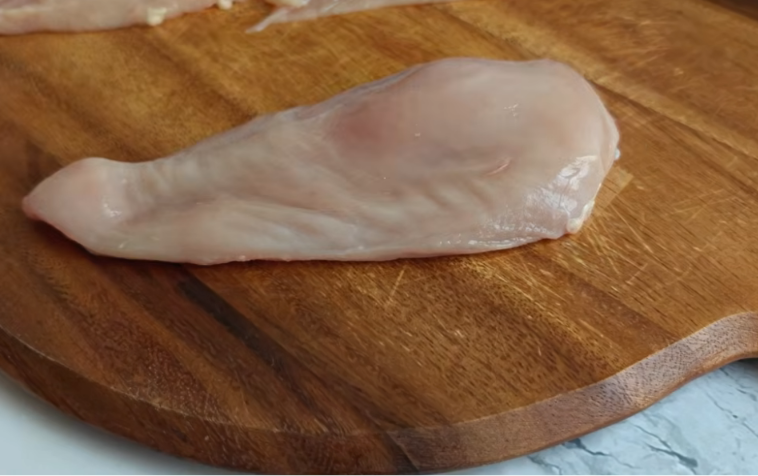
Cut 2 boneless skinless chicken breasts in half horizontally into thin cutlets. Use a meat tenderizer to pound them flat, if necessary.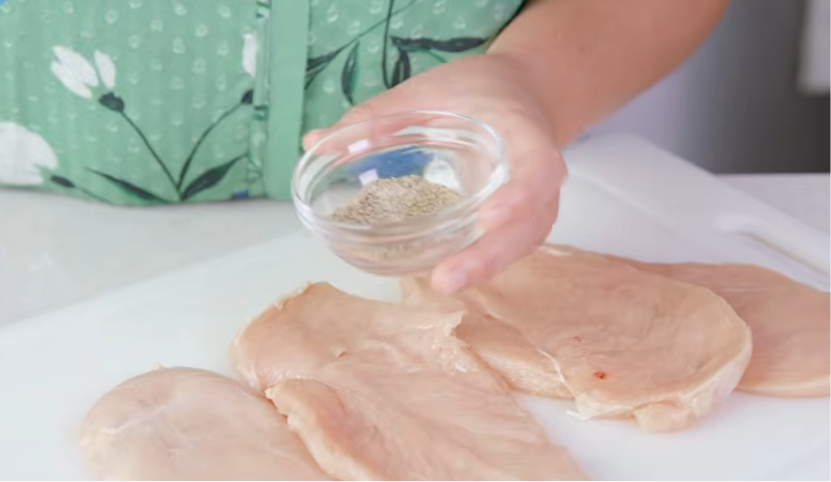
- Simple seasoning for the chicken:
Salt both sides & sprinkle with garlic powder, onion powder, and paprika seasoning.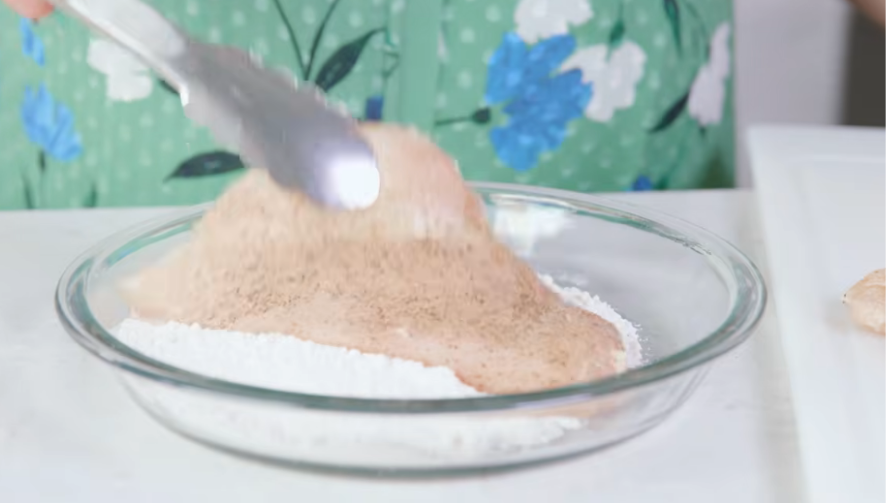
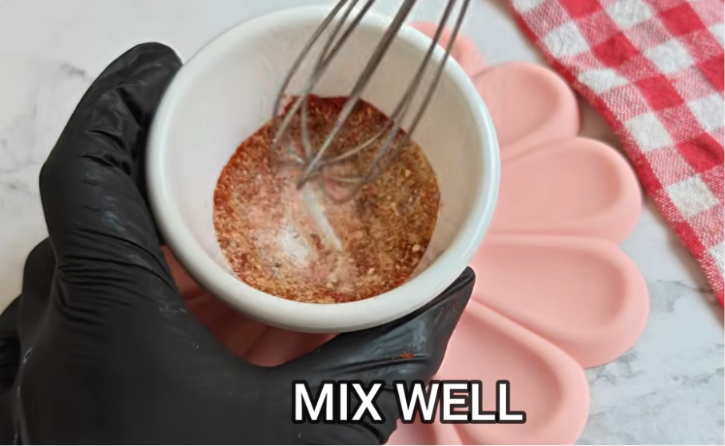
- Breading Setup:
In one shallow bowl, pour some flour; the second has beaten eggs; the third bowl has Panko breadcrumbs and grated Parmesan cheese (optional).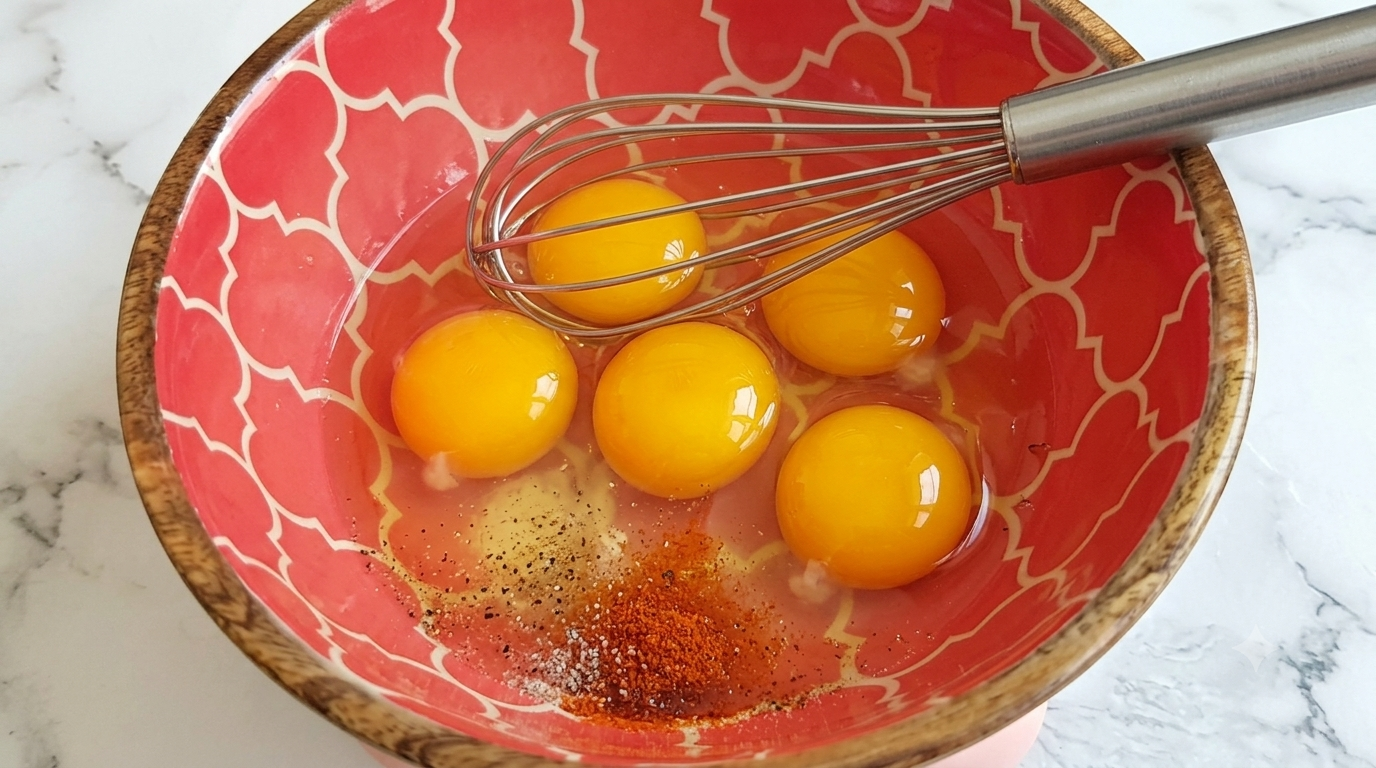
- Flour Coating:
Dredge each chicken cutlet lightly in flour, shaking off the excess coats.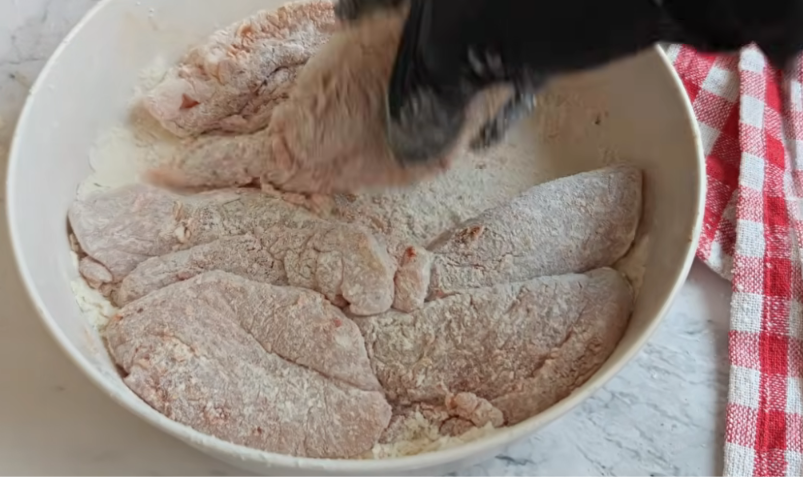
- Dip Chicken in Egg:
Completely dip the floured chicken into the beaten eggs.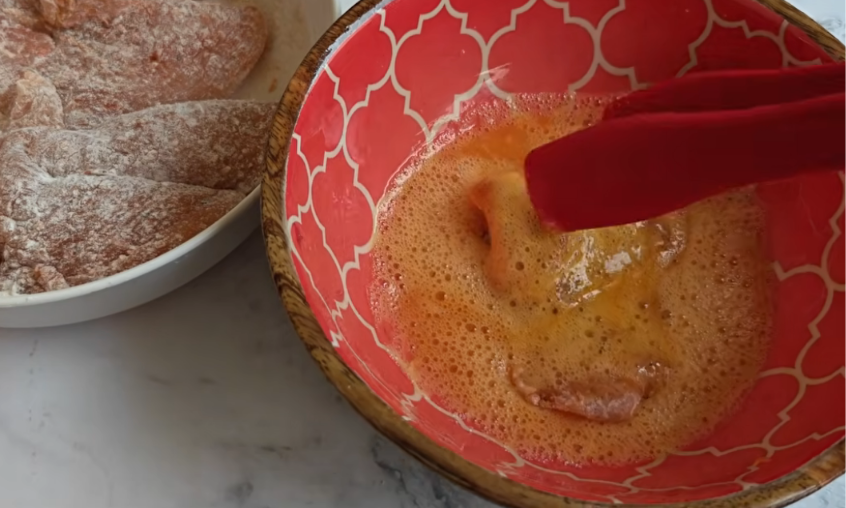
- Coat with Breadcrumbs:
Firmly press the chicken into the seasoned breadcrumb mixture, ensuring an even coating on all sides.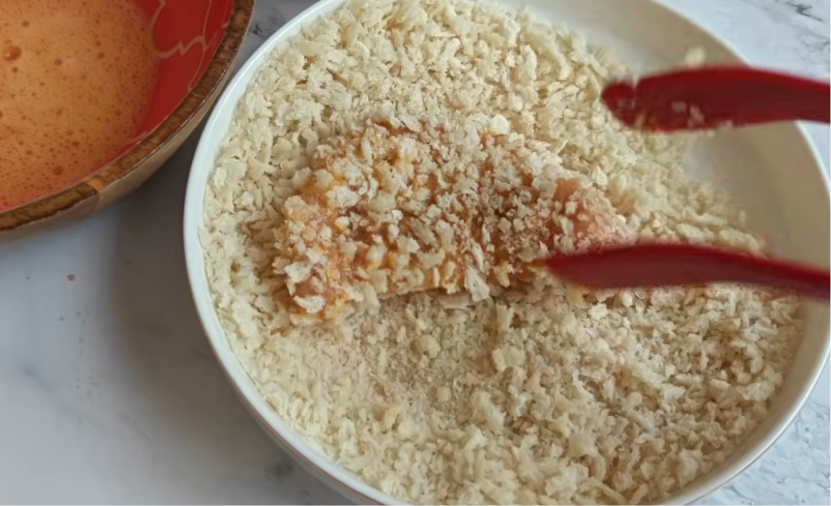
- Resting Time For The Chicken:
Once the cutlets are breaded, transfer them to a plate or wire rack and let rest for a minimum of 10 minutes. It enables the coating to adhere during cooking. - Watch the Oil: The oil heats up a little longer than medium depending on your stove and when it begins to shimmer.
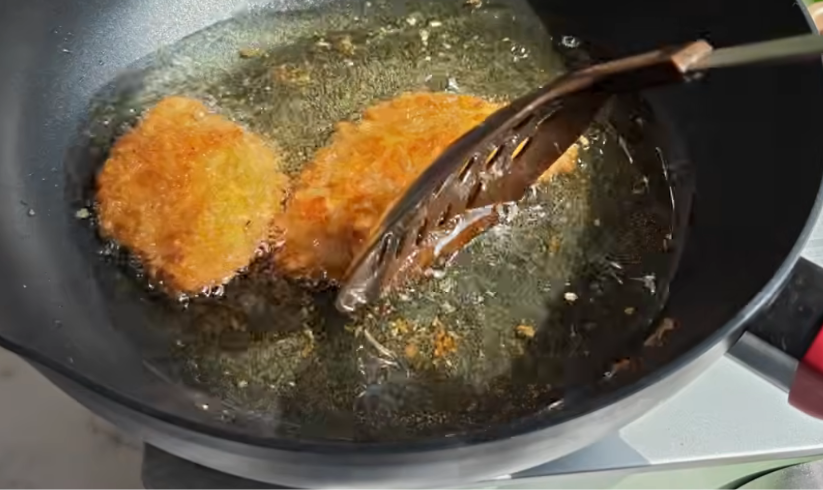
- Fry the Chicken: When the oil is steaming hot, gently add the cutlets to it (not overcrowding). Fry each side for 3–4 minutes or until golden brown and the inside temperature is at least 165°F (74°C).
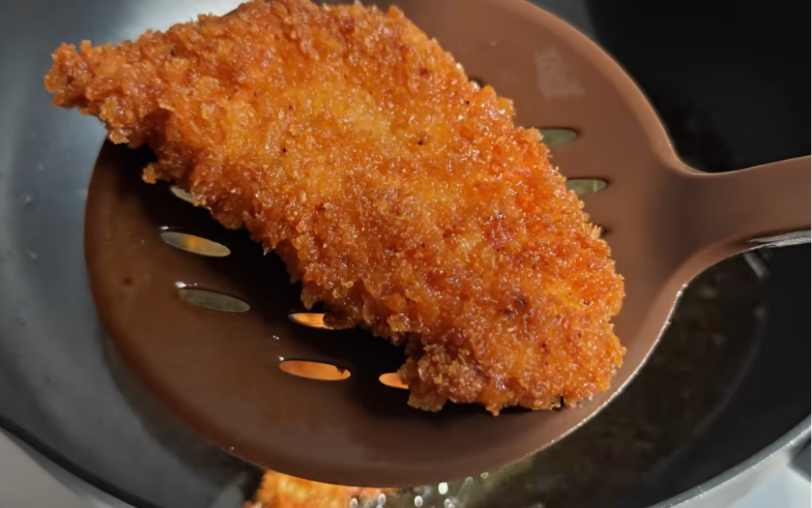
- Drain Excess Oil: Transfer the fried chicken to a wire rack or a plate lined with paper towels to soak up excess oil while maintaining the coating’s crispness.
- Rest It Before Serving: Allow 2–3 minutes for the chicken to rest before serving so it stays juicy and flavorful.
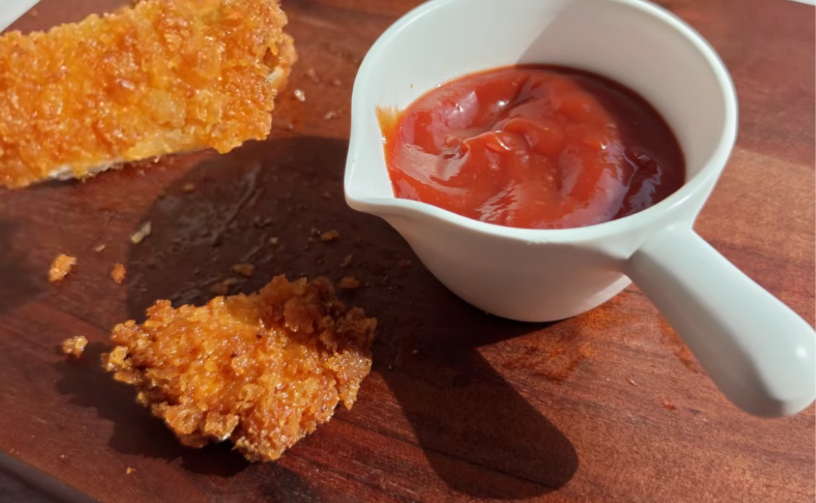
- How to Serve: Serve garnished with freshly chopped parsley, then lemon wedges, accompanied by your favorite sauce (ketchup or mayonnaise), mashed potatoes, salad, fries or roasted vegetables
Notes
- Pat the chicken dry before breading for a crispier coating.
Use Panko breadcrumbs for the best crunchy texture.
Season the chicken before breading to add flavor throughout.
Let the breaded cutlets rest for 10 minutes before frying to help the coating stick.
Fry over medium heat (350–375°F / 175–190°C) for even cooking.
Avoid overcrowding the pan, as it lowers the oil temperature and makes the cutlets less crispy.
Always cook the chicken until it reaches an internal temperature of 165°F (74°C).
Reheat leftovers in the oven or air fryer to restore their crispy texture.
The Secret to Perfect Crispy Breading
I learned over multiple attempts of this recipe that the breading is what gives the glorious crunch.
First, dunk each piece of chicken into flour. Dip them in beaten eggs and let the excess come off. And lastly, press the chicken into fully soaked in the breadcrumbs.
For extra crunch, use Panko breadcrumbs mixed in with a little parmesan cheese. Allow breaded chicken to rest on a plate for approximately 10 minutes before frying. It is where the coating adheres better, so it does not come off during cooking.
Must Read: How to make Creamy Italian Alfredo Pasta
A Few of My Favorite Tips for Extra Crispy:
Over the years I have learned a few tips that always optimize this recipe. The most important of these is temperature: if the chicken is moist, moisture will be preventing that coating from sticking properly; it was never going to get crisp in the first place, so go ahead and dry the thing off before seasoning. Use breadcrumbs whenever possible Avoid flipping the chicken repeatedly. Flipping it just one time keeps the breading from falling off. Maintain a steady oil temperature. If the oil is too cold, then this coating will soak up surplus oil. Otherwise, if it is hot, the exterior browns before the inside of the chicken cooks. Finally, rest the chicken for a few minutes after you cook it. That keeps the juices inside the meat, rather than radiating out as soon as you slice in.
Delicious Serving Ideas:
This is one of the reasons I never get bored of crispy breaded cutlets; there are so many ways you can enjoy them.
Serve with mashed potatoes and steamed veggies for a comfort food sort of dinner. Top ’em liberally over a light Caesar salad. Stack these inside a piece of toasted bread, with lettuce, tomato and mayo for one epic chicken sandwich. They also go perfectly with pasta, rice, roasted potatoes or macaroni and cheese.
Fresh lemon squeezed onto the chicken just before serving brightens the flavor and cuts any richness of the crisp coating.
Best Side Dishes That Pair Perfectly with Chicken Cutlets
That is one of the greatest things about chicken cutlets: it goes with everything. The leaves make a comforting meal when served with mashed potatoes, corn and butter or roasted vegetables. Or, if you want something lighter, serve a garden salad, Caesar salad or coleslaw to counter the crispy exterior: Pasta with a garlic butter or basic tomato sauce is also great. Optional sides, such as steamed rice, french fries or sweet potato wedges, and macaroni and cheese all work beautifully for family dinners. Serve with some lemon wedges or your favorite dipping sauce to top off your meal.
What Is The Best Oil To Fry Chicken Breasts?
Oil for frying chicken cutlets: The best oil to fry cutlets will be an oil with a high smoke point, such as vegetable oil, canola oil, peanut or sunflower. They also have a mix that heats evenly and forms a golden crispy layer without burning very fast. Maintain an oil temp of about 350–375°F (175–190°C) for optimal outcomes; lower temperatures will produce chicken that is undercooked and flabby, while a hotter temperature will brown the coating without cooking the chicken through.
Best Ways To Store, Freeze, and Reheat Without Losing The Crisp
If there are leftover chicken cutlets, cool them completely and cover tightly in an airtight container. In the fridge they will keep for three days. To store for a longer time, arrange the cooled cutlets in a single layer on a baking sheet and freeze until solid before separating them into bags or containers that can be put in the freezer. Freezing can be allowed for up to two months. To prevent your crispy coating from going soft, do not use the microwave when reheating it. Save that for later whenever you decide to indulge again. Do not microwave; instead, put the cutlets into a preheated oven at 375°F (190°C) or air fry for a couple of minutes until hot and crispy again.
Easy Variations to Try:
After you perfect the recipe, it is easy to adjust it according to your preferences.
When I make them spicy, I add cayenne pepper or chili flakes in the breadcrumb mixture.
These Italian-style cutlets get a flavor boost with parmesan and Italian herbs and garlic seasoning.
Alternatively, for a healthier option, bake the breaded chicken at 425°F (220°C) for approximately 20-25 minutes or use an air fryer until crispy and golden.
And you can also try crushed crackers, seasoned breadcrumbs or even cornflakes for varied textures.
Storage and Reheating Tips
Chicken cutlets aren’t much to look at, but leftover chicken cutlets actually don’t store half bad. Let them cool completely before storing in an airtight container. They will last in the refrigerator for three days.
To keep them for longer, freeze the precooked cutlets individually before putting them into a freezer-friendly bag. The products can be kept frozen for two months approximately.
Instead of the microwave, throw them in the oven or air fryer to re-crisp them up. This aids in retaining the crunchy coating while also heating up the chicken right through.
Common Mistakes to Avoid
Even simple recipes have a few pitfalls. Use chicken pieces that are not too thick; otherwise, they will not be cooked very evenly. You must not overlook seasoning the chicken itself; the coats each give flavor but you cannot build a solid enough flavor by just relying on that alone.
Too much breading in the frying pan lowers the oil temperature and makes soggy breading. Similarly, frying on really high heat might result in burning the breading before the chicken cooks through. Being deliberate with each step yields consistently delicious results.
Ready to Enjoy the Perfect Chicken Cutlets?
It is time for you to create your own crispy breaded chicken cutlets. Their crisp coating and succulent center will definitely make way for them to be the star on your table. This easy recipe is ideal for a quick weeknight meal or special occasion to feed an entire family; it always turns out delicious! Pair them with your favorite sides and enjoy this crisp deliciousness!